Silicate fireproof board installation is a crucial aspect of building fire protection engineering. As a professional manufacturer of silicate fireproof boards, we understand that proper installation is essential for achieving effective fire protection. This article provides comprehensive installation guidance, from product category selection to construction techniques.
Fireproof Board Categories and Characteristics
Traditional Fireproof Boards
- Structure: decorative paper + kraft paper
- Excellent surface gloss and transparency
- Wear-resistant, heat-resistant, scratch-resistant
- Highly realistic simulation performance
High-Pressure Laminate (HPL) Boards
- Multi-layer kraft paper laminated and pressed
- Thickness options: 1.6-25mm
- Sturdy, impact-resistant, waterproof
- Wide format up to 1.8*4.2m
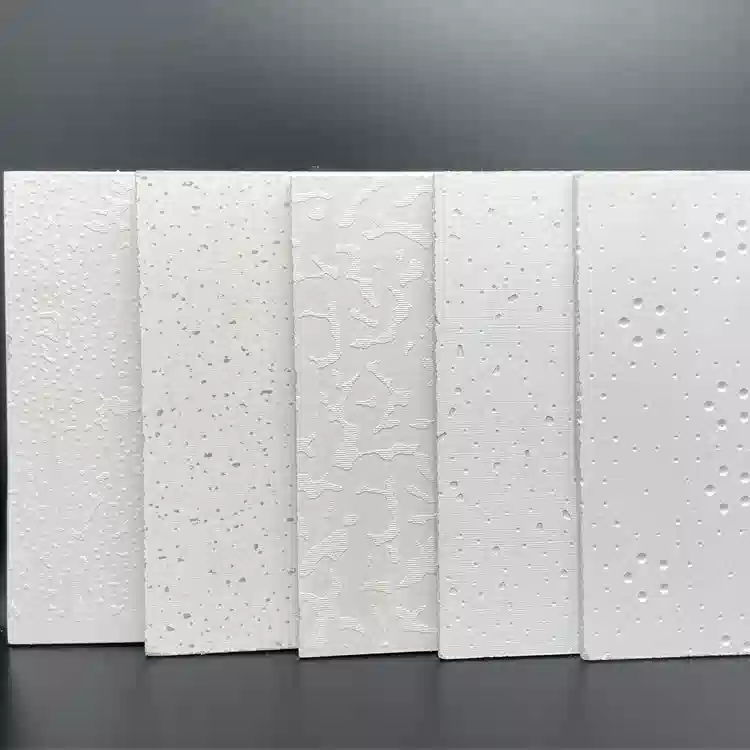
Specialty Fire-Resistant Boards
- Class A fire protection standard
- Strong antibacterial and anti-mold properties
- Suitable for ceiling applications
- Can be directly applied to wall renovations
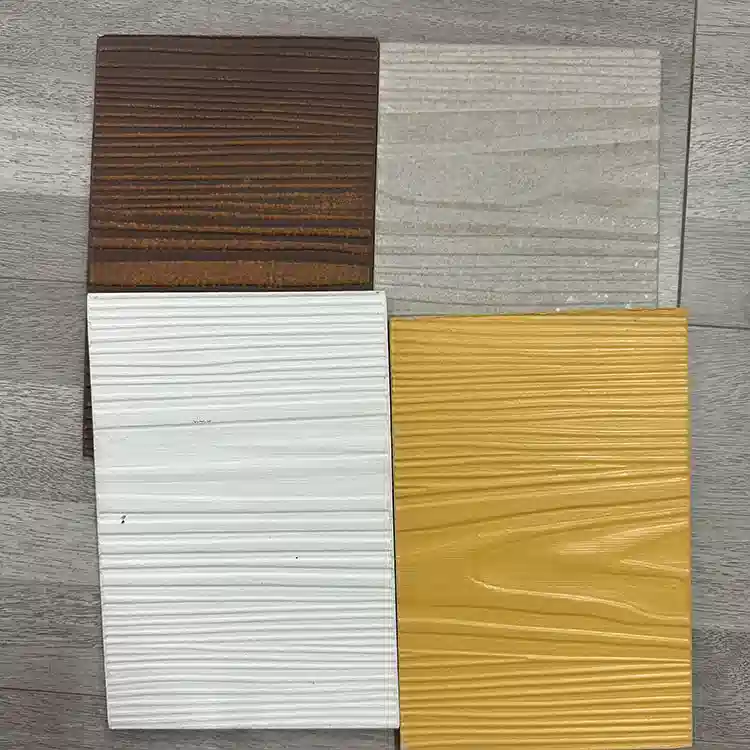
Surface Texture Options
Wood Grain Panels
- Processed with wood grain paper
- Painted wood grain effects
- Cross-grain and real wood veneer textures
- Natural and realistic appearance
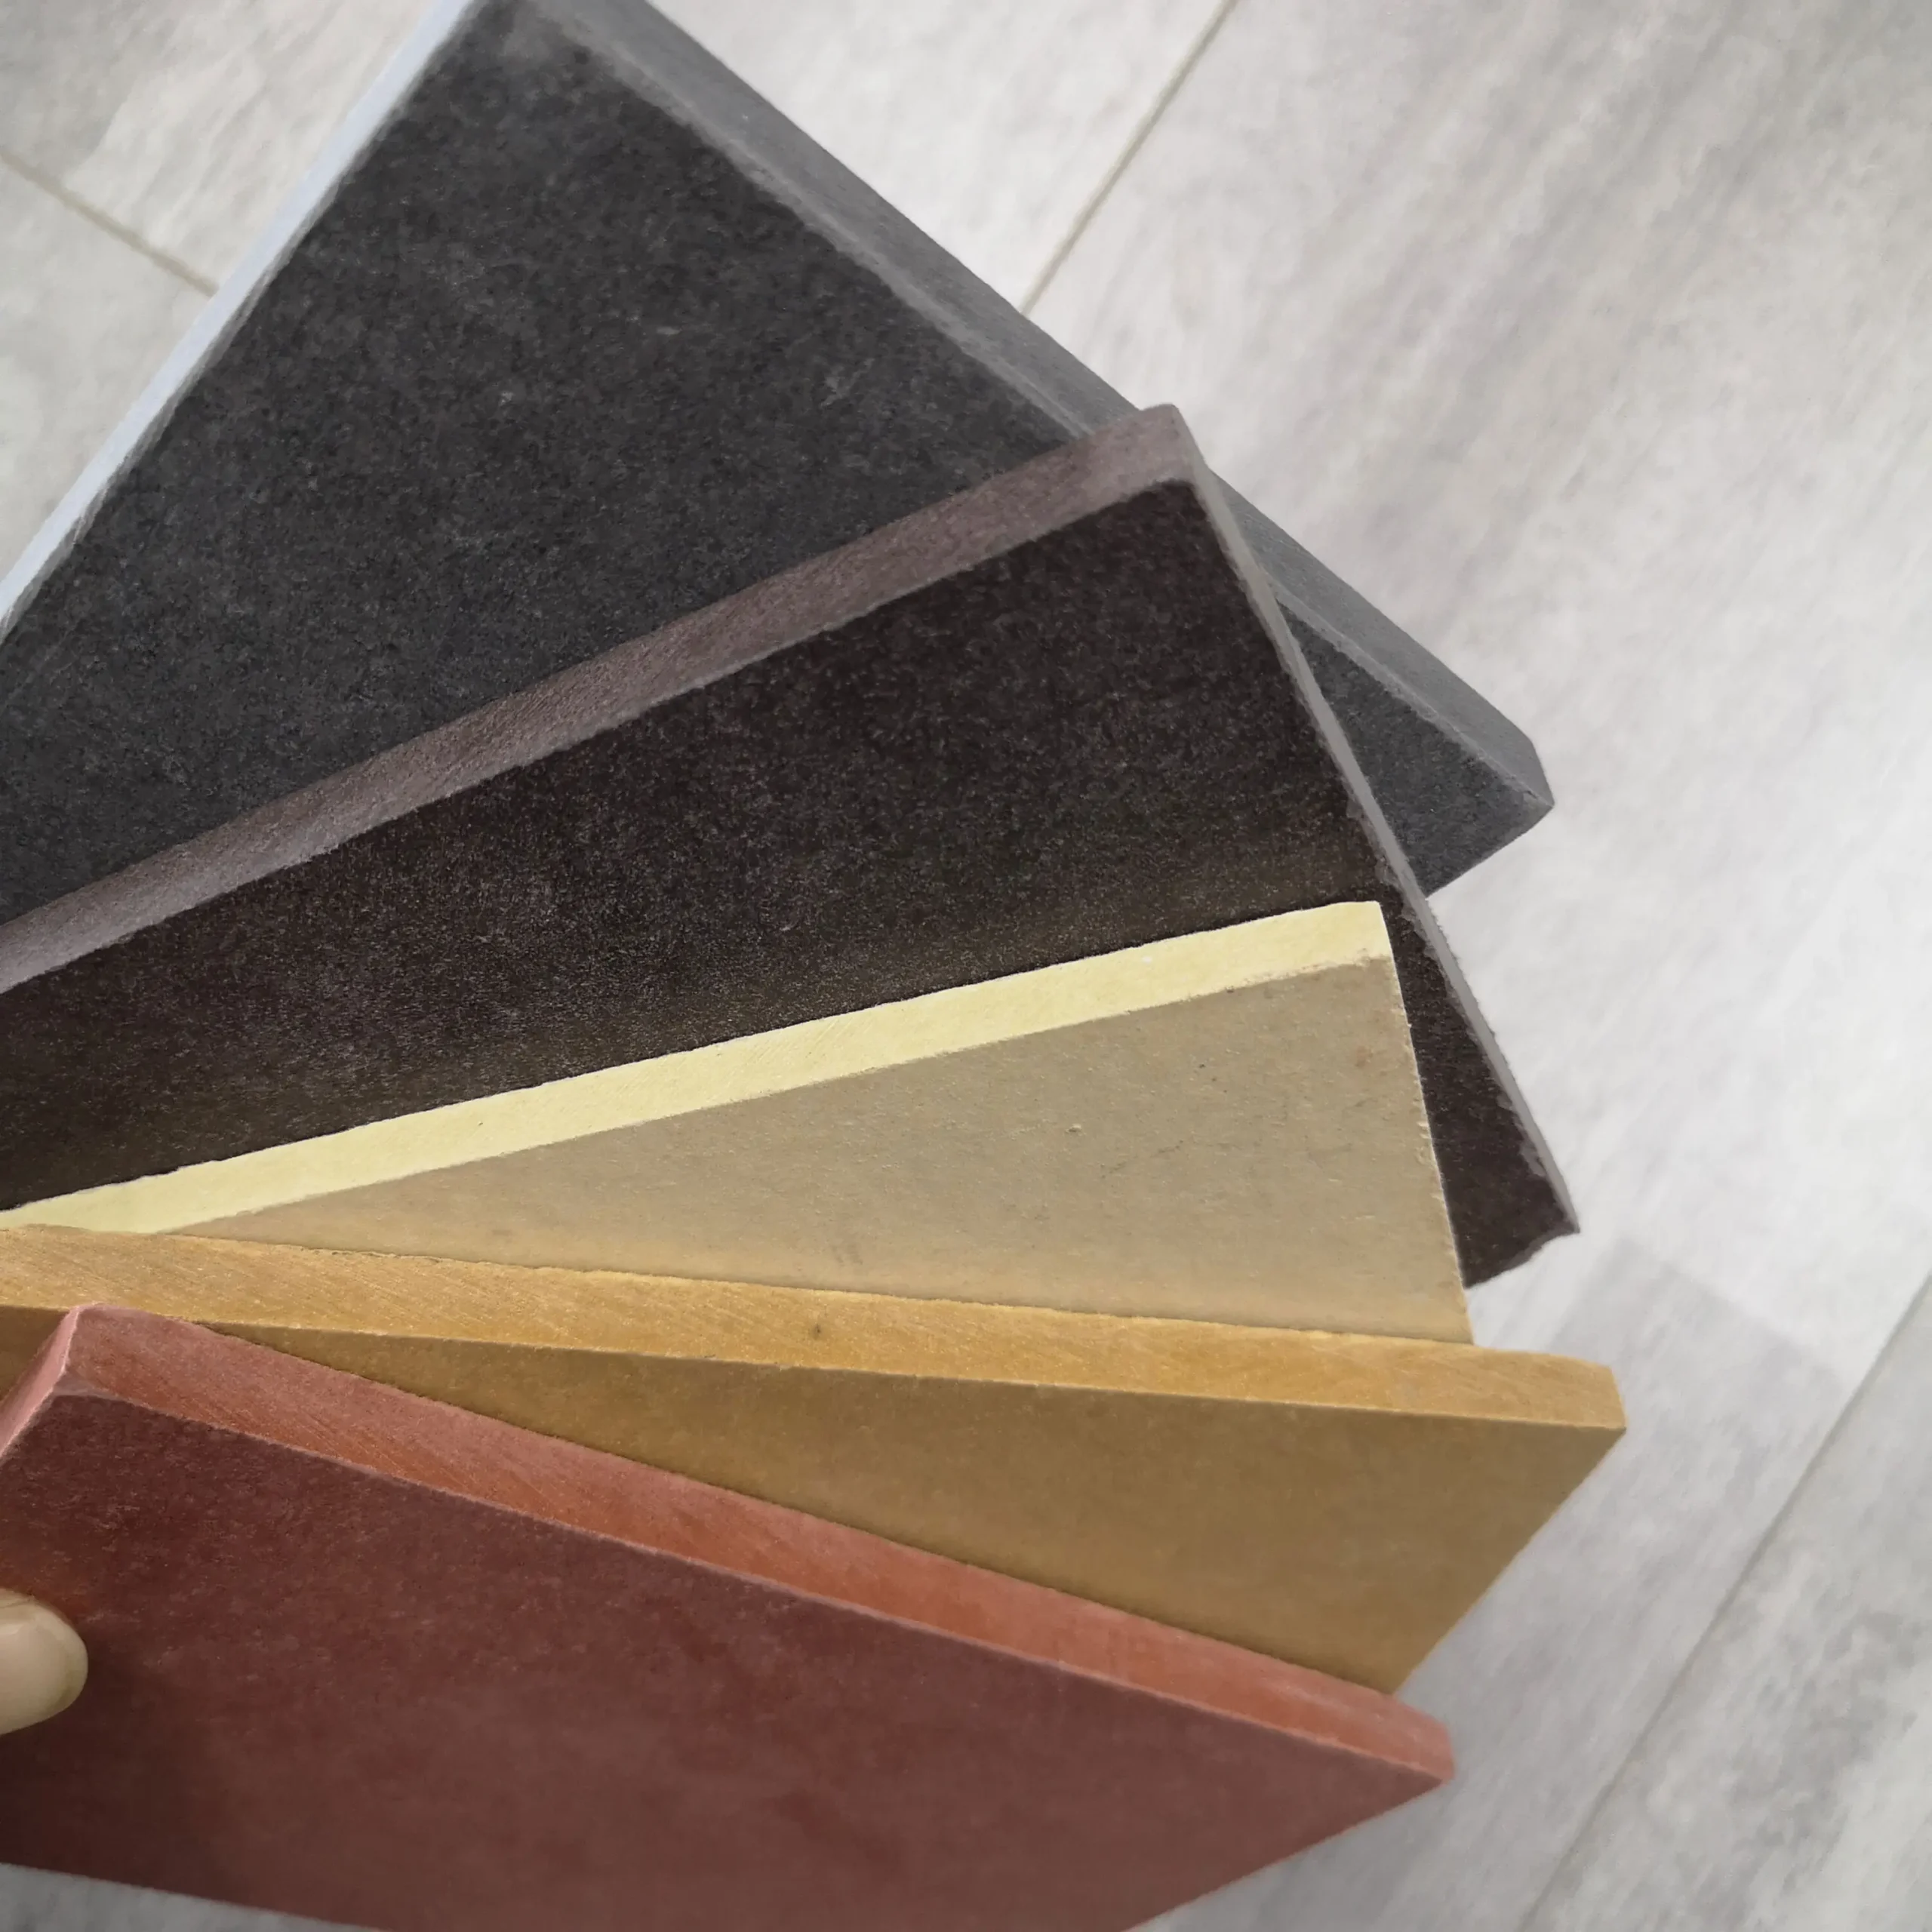
Solid Color Panels
- Pure color design
- Cost-effective pricing
- Simple and elegant
- Wide applicability
Metal Surface Panels
- Metal composite surface
- Suitable for high-end venues
- Designed for kitchen applications
- Higher price point
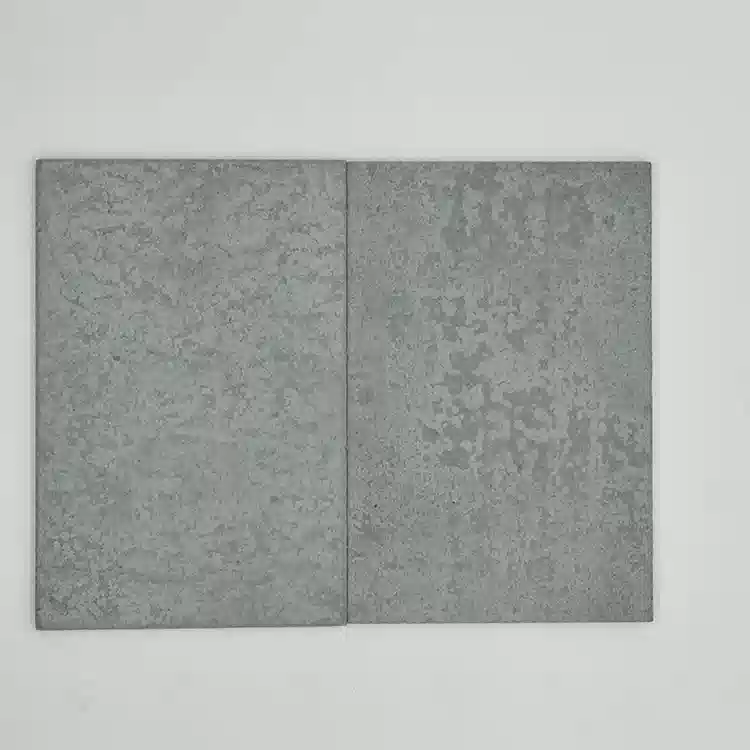
Stone Surface Panels
- Digital printing technology
- 1:1 stone texture patterns
- Realistic simulation effect
- Economical and practical
Detailed Construction Techniques
Direct Adhesive Method
- Suitable for organic base materials
- Even application of adhesive
- Pressure ensures bonding
- Edge trimming and cleaning
Construction Process
- Cut fireproof boards to size
- Sand edges of base material
- Apply adhesive evenly
- Press and secure installation
- Trim edges and clean
Inorganic Material Integration
- Calcium silicate board base
- Aluminum honeycomb panel substrate
- Enhanced fire protection rating
- Meets special requirements
Dry-Hanging Construction Techniques
Grid System Installation
- Vertical grid spacing ≤400mm
- Horizontal grid spacing ≤400mm
- Fixed with expansion bolts
- Connected with self-tapping screws
Hanger Installation Steps
- Measure, position, and mark
- Drill holes and install hangers
- Adjust hanger positions
- Secure, inspect, and adjust
Panel Installation Points
- Glass suction cup assistance
- Bottom-to-top installation sequence
- Control surface flatness
- Seal joint connections
Detail Processing Techniques
Edge Finishing
- Ceiling-wall joint finishing
- Top edge treatment
- Bottom gap of 10mm
- Sealed with sealant
Joint Processing
- Sealant gap filling
- Decorative strip inlay
- Tongue-and-groove natural joints
- Masking tape protection
Quality Control
- Flatness control
- Joint tightness
- Fire protection performance testing
- Final acceptance standards