How to Install Fiber Cement Siding: A Step-by-Step Guide2025

How to Install Fiber Cement Siding: A Step-by-Step Guide

Fiber cement siding is a durable, low-maintenance option that protects and beautifies homes. If you’re considering installing it yourself, this guide will walk you through the process with easy-to-follow steps.

Why Choose Fiber Cement Siding?

  • Resistant to rot, fire, and pests
  • Long-lasting with minimal upkeep
  • Available in various styles and colors
  • Enhances curb appeal and home value

Tools & Materials Needed

Before starting, gather these essentials:
✔ Circular saw (with carbide blade)
✔ Safety goggles & dust mask
✔ Measuring tape & level
✔ Galvanized nails/screws & nail gun
✔ Flashing & exterior-grade caulk
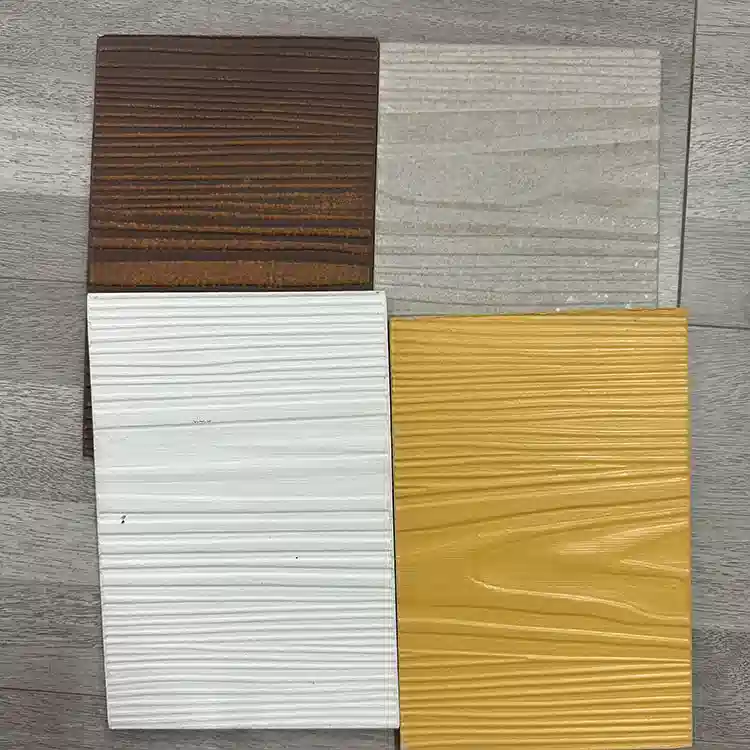
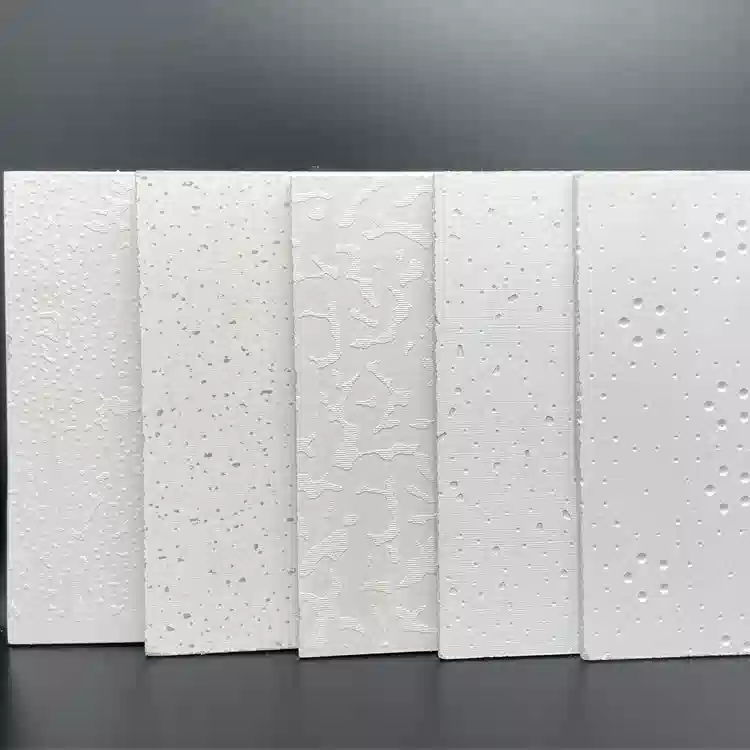
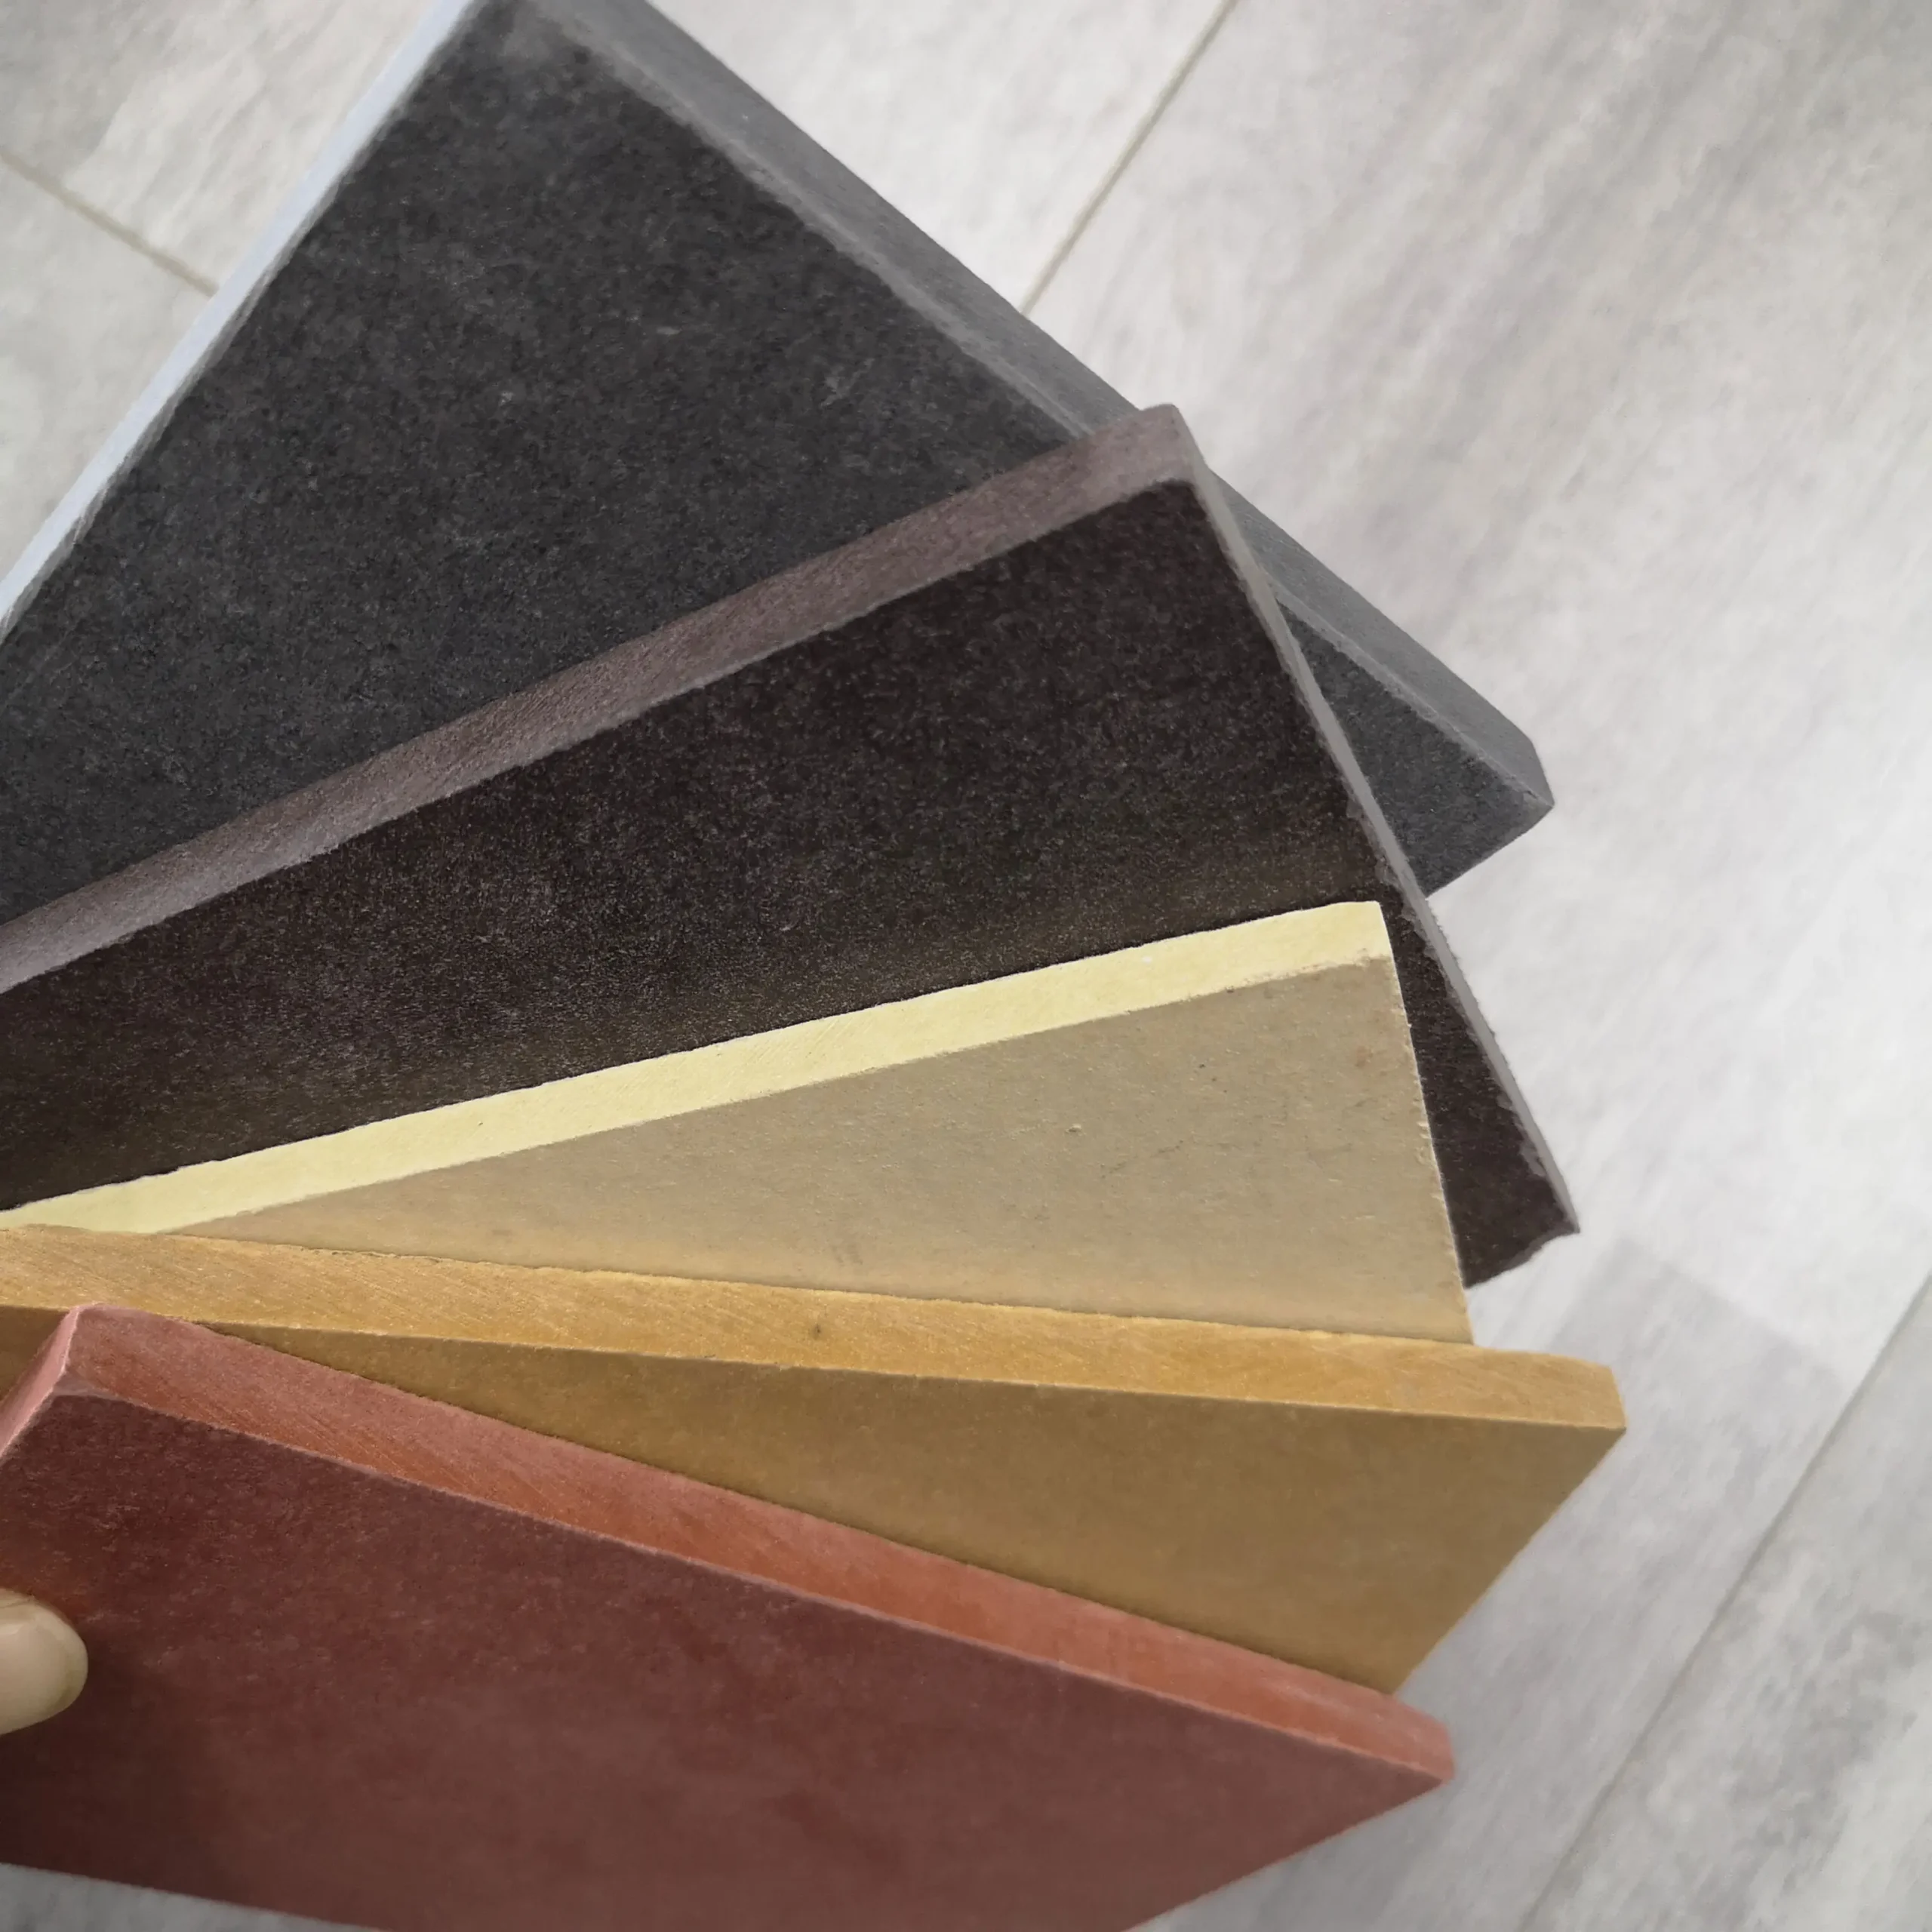
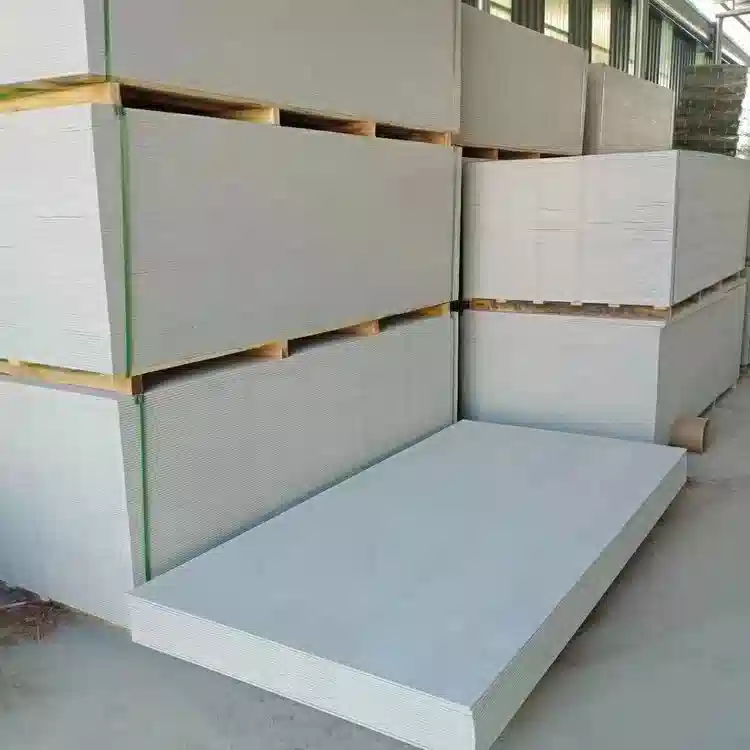
✔ Fiber cement siding boards

Step 1: Remove Old Siding

  • Use a pry bar to carefully remove existing siding.
  • Inspect the wall for damage and make necessary repairs.

Step 2: Prepare the Surface

  • Ensure sheathing is dry and secure.
  • Install a moisture barrier (like house wrap).
  • Add flashing around windows, doors, and corners.

Step 3: Cut Fiber Cement Boards

  • Cut upside down for cleaner edges.
  • Wear a dust mask to avoid inhaling particles.
  • Prime or paint cut edges before installation.

Step 4: Install Starter Strip & First Row

  • Attach a starter strip at the bottom (with weep holes).
  • Place the first row ¼-inch below the strip.
  • Nail into studs 1 inch from the top (don’t overdrive nails).

Step 5: Continue Installing Siding

  • Work bottom to top, overlapping each row.
  • Leave small gaps for expansion (follow manufacturer guidelines).
  • Use flashing behind butt joints to prevent water damage.

Step 6: Seal & Finish

  • Caulk around windows, doors, and trim.
  • Ensure proper clearance from the ground (check local codes).

Safety Tips

✅ Always wear protective gear (goggles, mask, gloves).
✅ Work in a well-ventilated area when cutting.
✅ Follow manufacturer instructions for best results.

Final Thoughts

Installing fiber cement siding is manageable with the right tools and preparation. By following these steps, you’ll achieve a professional-looking finish that lasts decades.

Need help? Check out our installation guide or request a sample to get started!

Leave a Comment

Your email address will not be published. Required fields are marked *