Fiber cement cladding offers a durable, low-maintenance exterior solution with a sleek concrete-like appearance. Modern installation methods—like shiplap joints, tongue & groove edges, and bracket clip systems—make the process faster and more efficient than ever.
In this guide, we’ll break down:
✔ Why fiber cement cladding is a smart choice
✔ How shiplap and tongue & groove systems work
✔ The benefits of clip-fastened installation
✔ Step-by-step installation tips

Fiber cement combines strength and style, making it a top pick for modern homes. Key benefits include:
✅ Concrete-like durability – Resists rot, fire, and pests.
✅ Low maintenance – No painting or sealing needed (with pre-finished options).
✅ Weatherproof – Handles extreme heat, cold, and moisture.
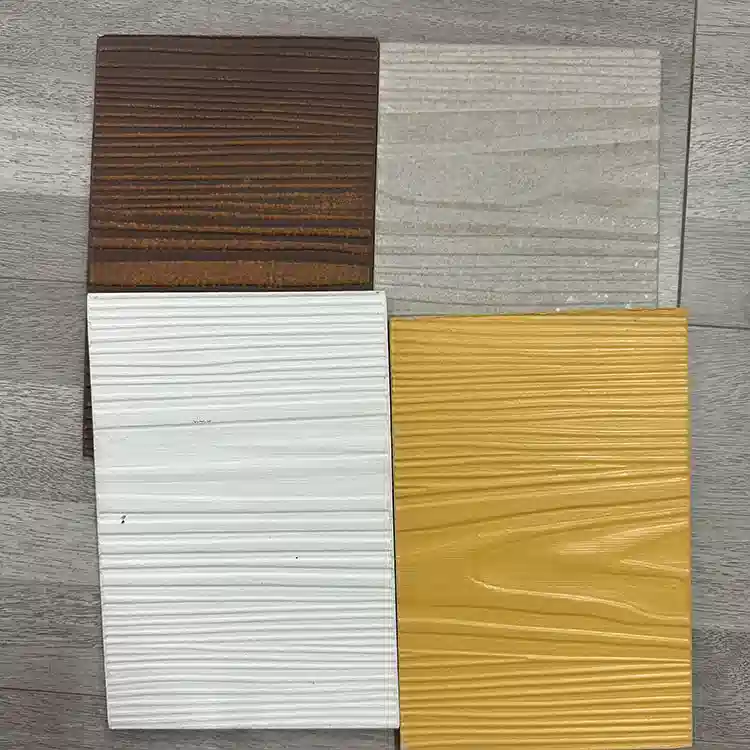
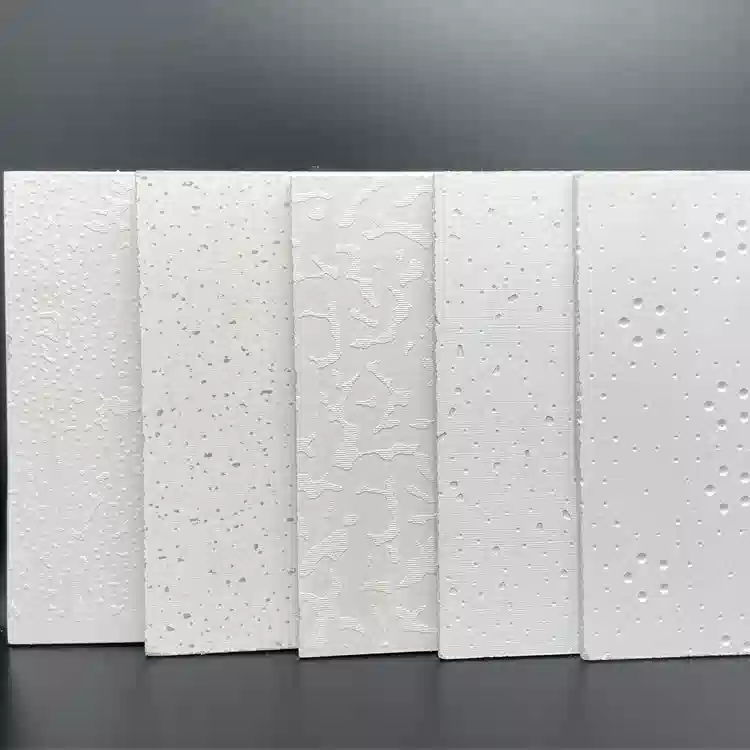
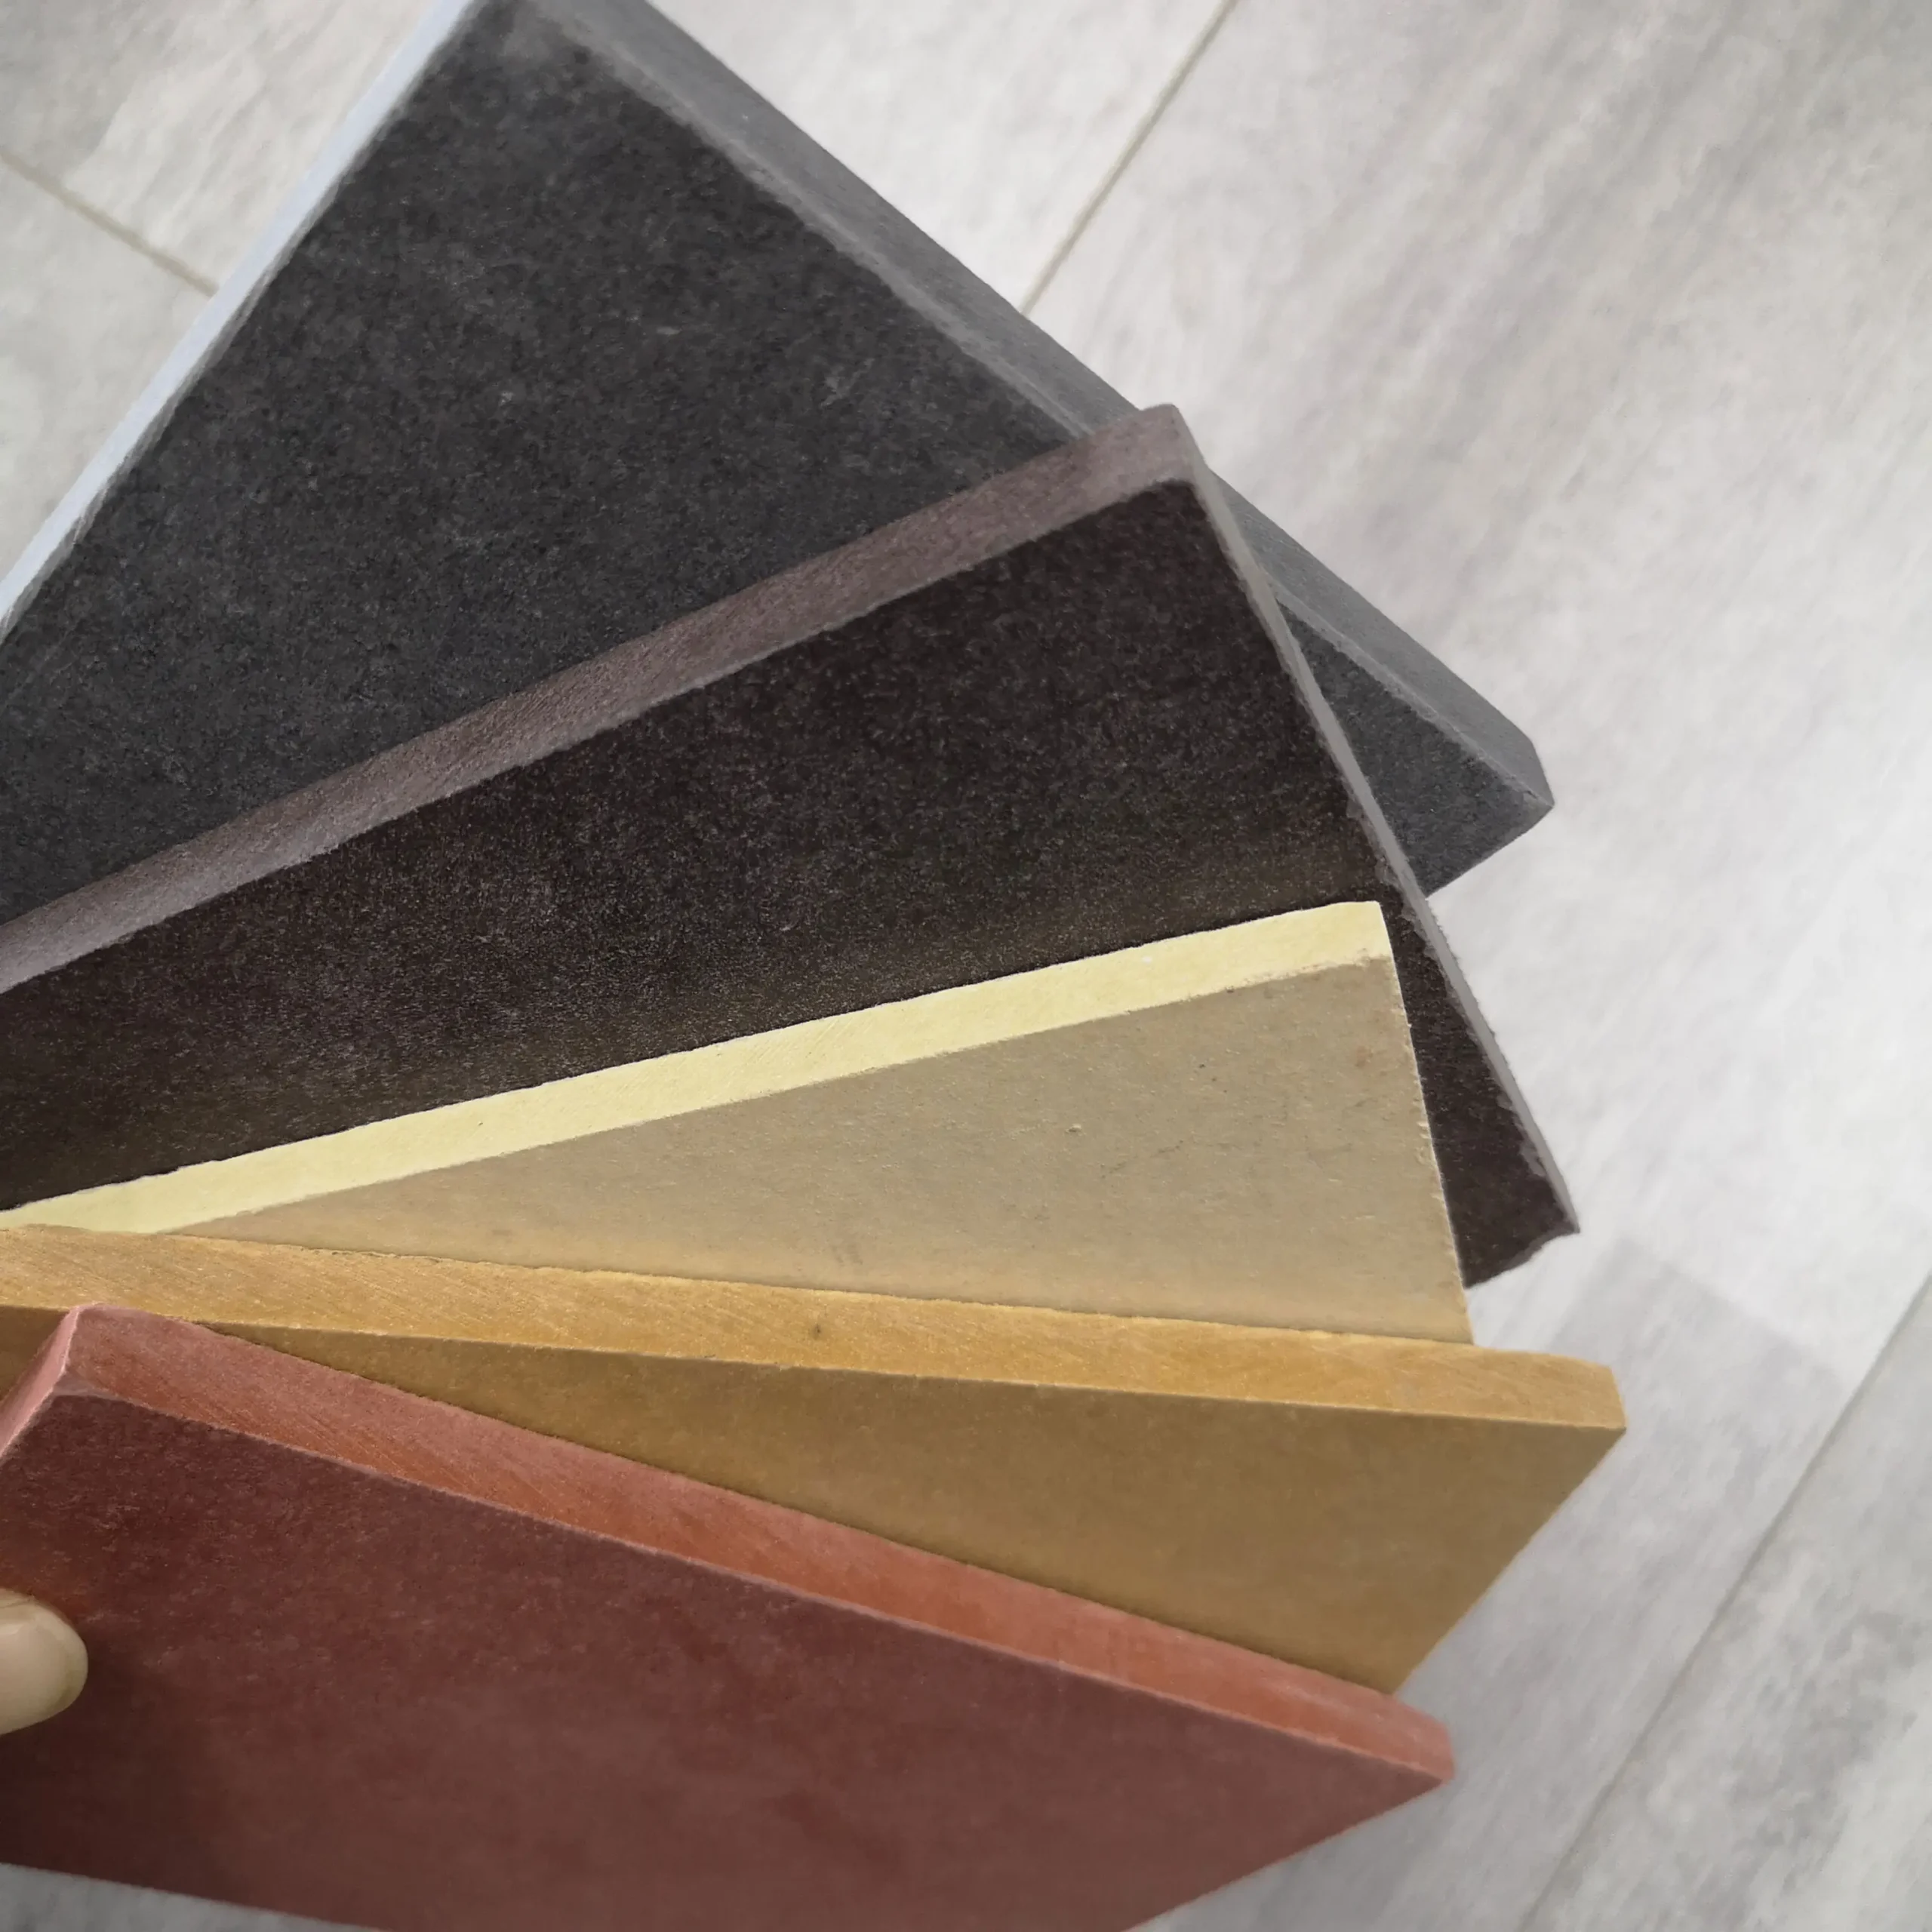
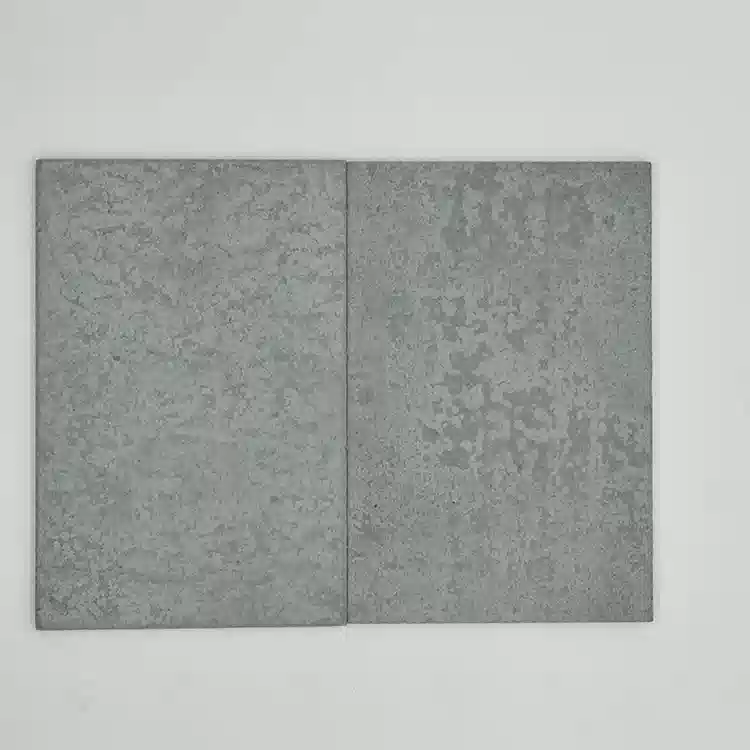
✅ Aesthetic flexibility – Available in smooth, textured, or wood-grain finishes.
Two popular installation systems make fiber cement cladding easier to install:
Both systems reduce the need for excessive nailing, speeding up the installation process.
Traditional fiber cement cladding requires nails or screws, but clip systems offer a faster, cleaner alternative.
🔹 No visible fasteners – Creates a smooth, uninterrupted surface.
🔹 Faster installation – Clips snap into place, reducing labor time.
🔹 Allows for natural expansion/contraction – Prevents warping or cracking.
🔹 Easy replacement – Damaged panels can be swapped without disturbing others.

✔ Remove old cladding and inspect the wall.
✔ Install a weather-resistant barrier (like house wrap).
✔ Add vertical battens for clip systems (if required).
✔ Secure a starter strip at the bottom (for drainage).
✔ Slide the first panel into place, locking it into clips or fastening with nails (if using shiplap/T&G).
✔ For shiplap/T&G: Overlap or interlock each panel.
✔ For clip systems: Snap panels into place along the clips.
✔ Check alignment frequently with a level.
✔ Install corner trims and flashing for a polished look.
✔ Caulk edges (if needed) for extra weather protection.
🔸 Use fiber cement-specific tools (carbide blades, dust-reducing saws).
🔸 Wear safety gear (mask, goggles, gloves) when cutting.
🔸 Follow manufacturer spacing guidelines to allow for expansion.
🔸 Store panels flat and dry before installation.
Fiber cement cladding with shiplap, tongue & groove, or clip systems delivers a fast, durable, and stylish exterior solution. Whether you’re a DIYer or a contractor, these modern installation methods save time while ensuring a professional finish.
Ready to upgrade your home’s exterior? Explore fiber cement cladding options today!
Our technical staff is available 24/7 for support and fast response, giving full advice on your products and sharing engineering knowledge. Whether you order or not, we’re always here to support your business.