Complete Guide to Fiber Cement Board Ceiling Installation: From Steps to Node Treatment Techniques
Abstract
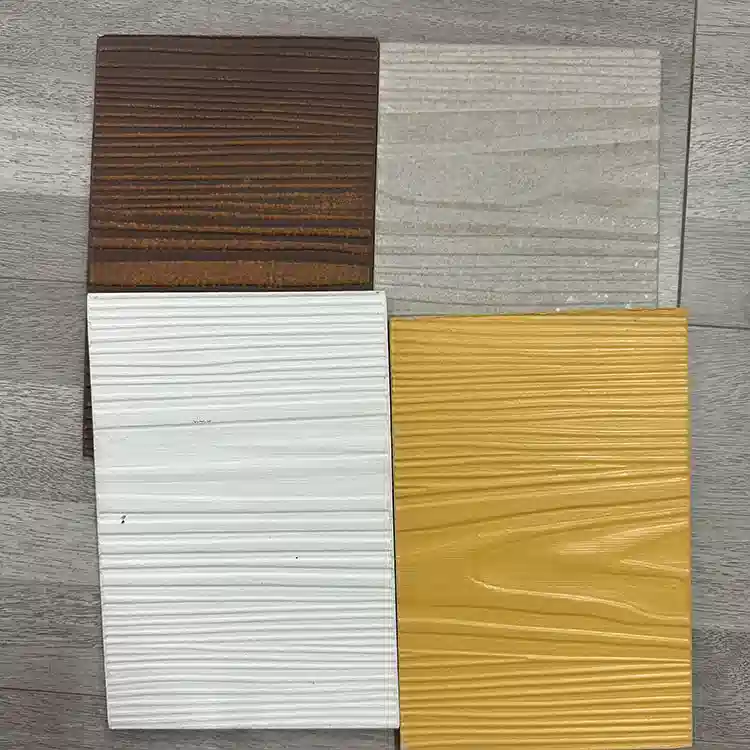
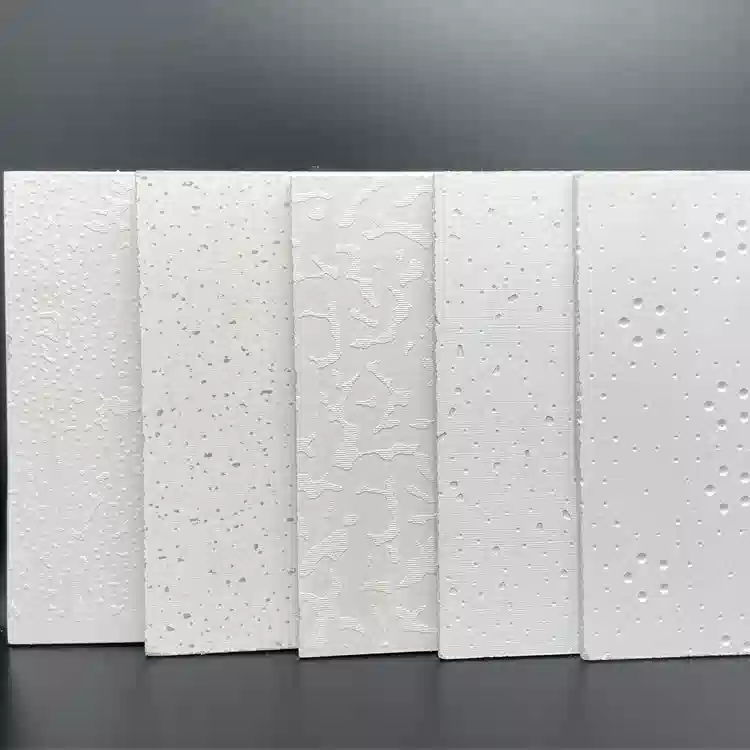
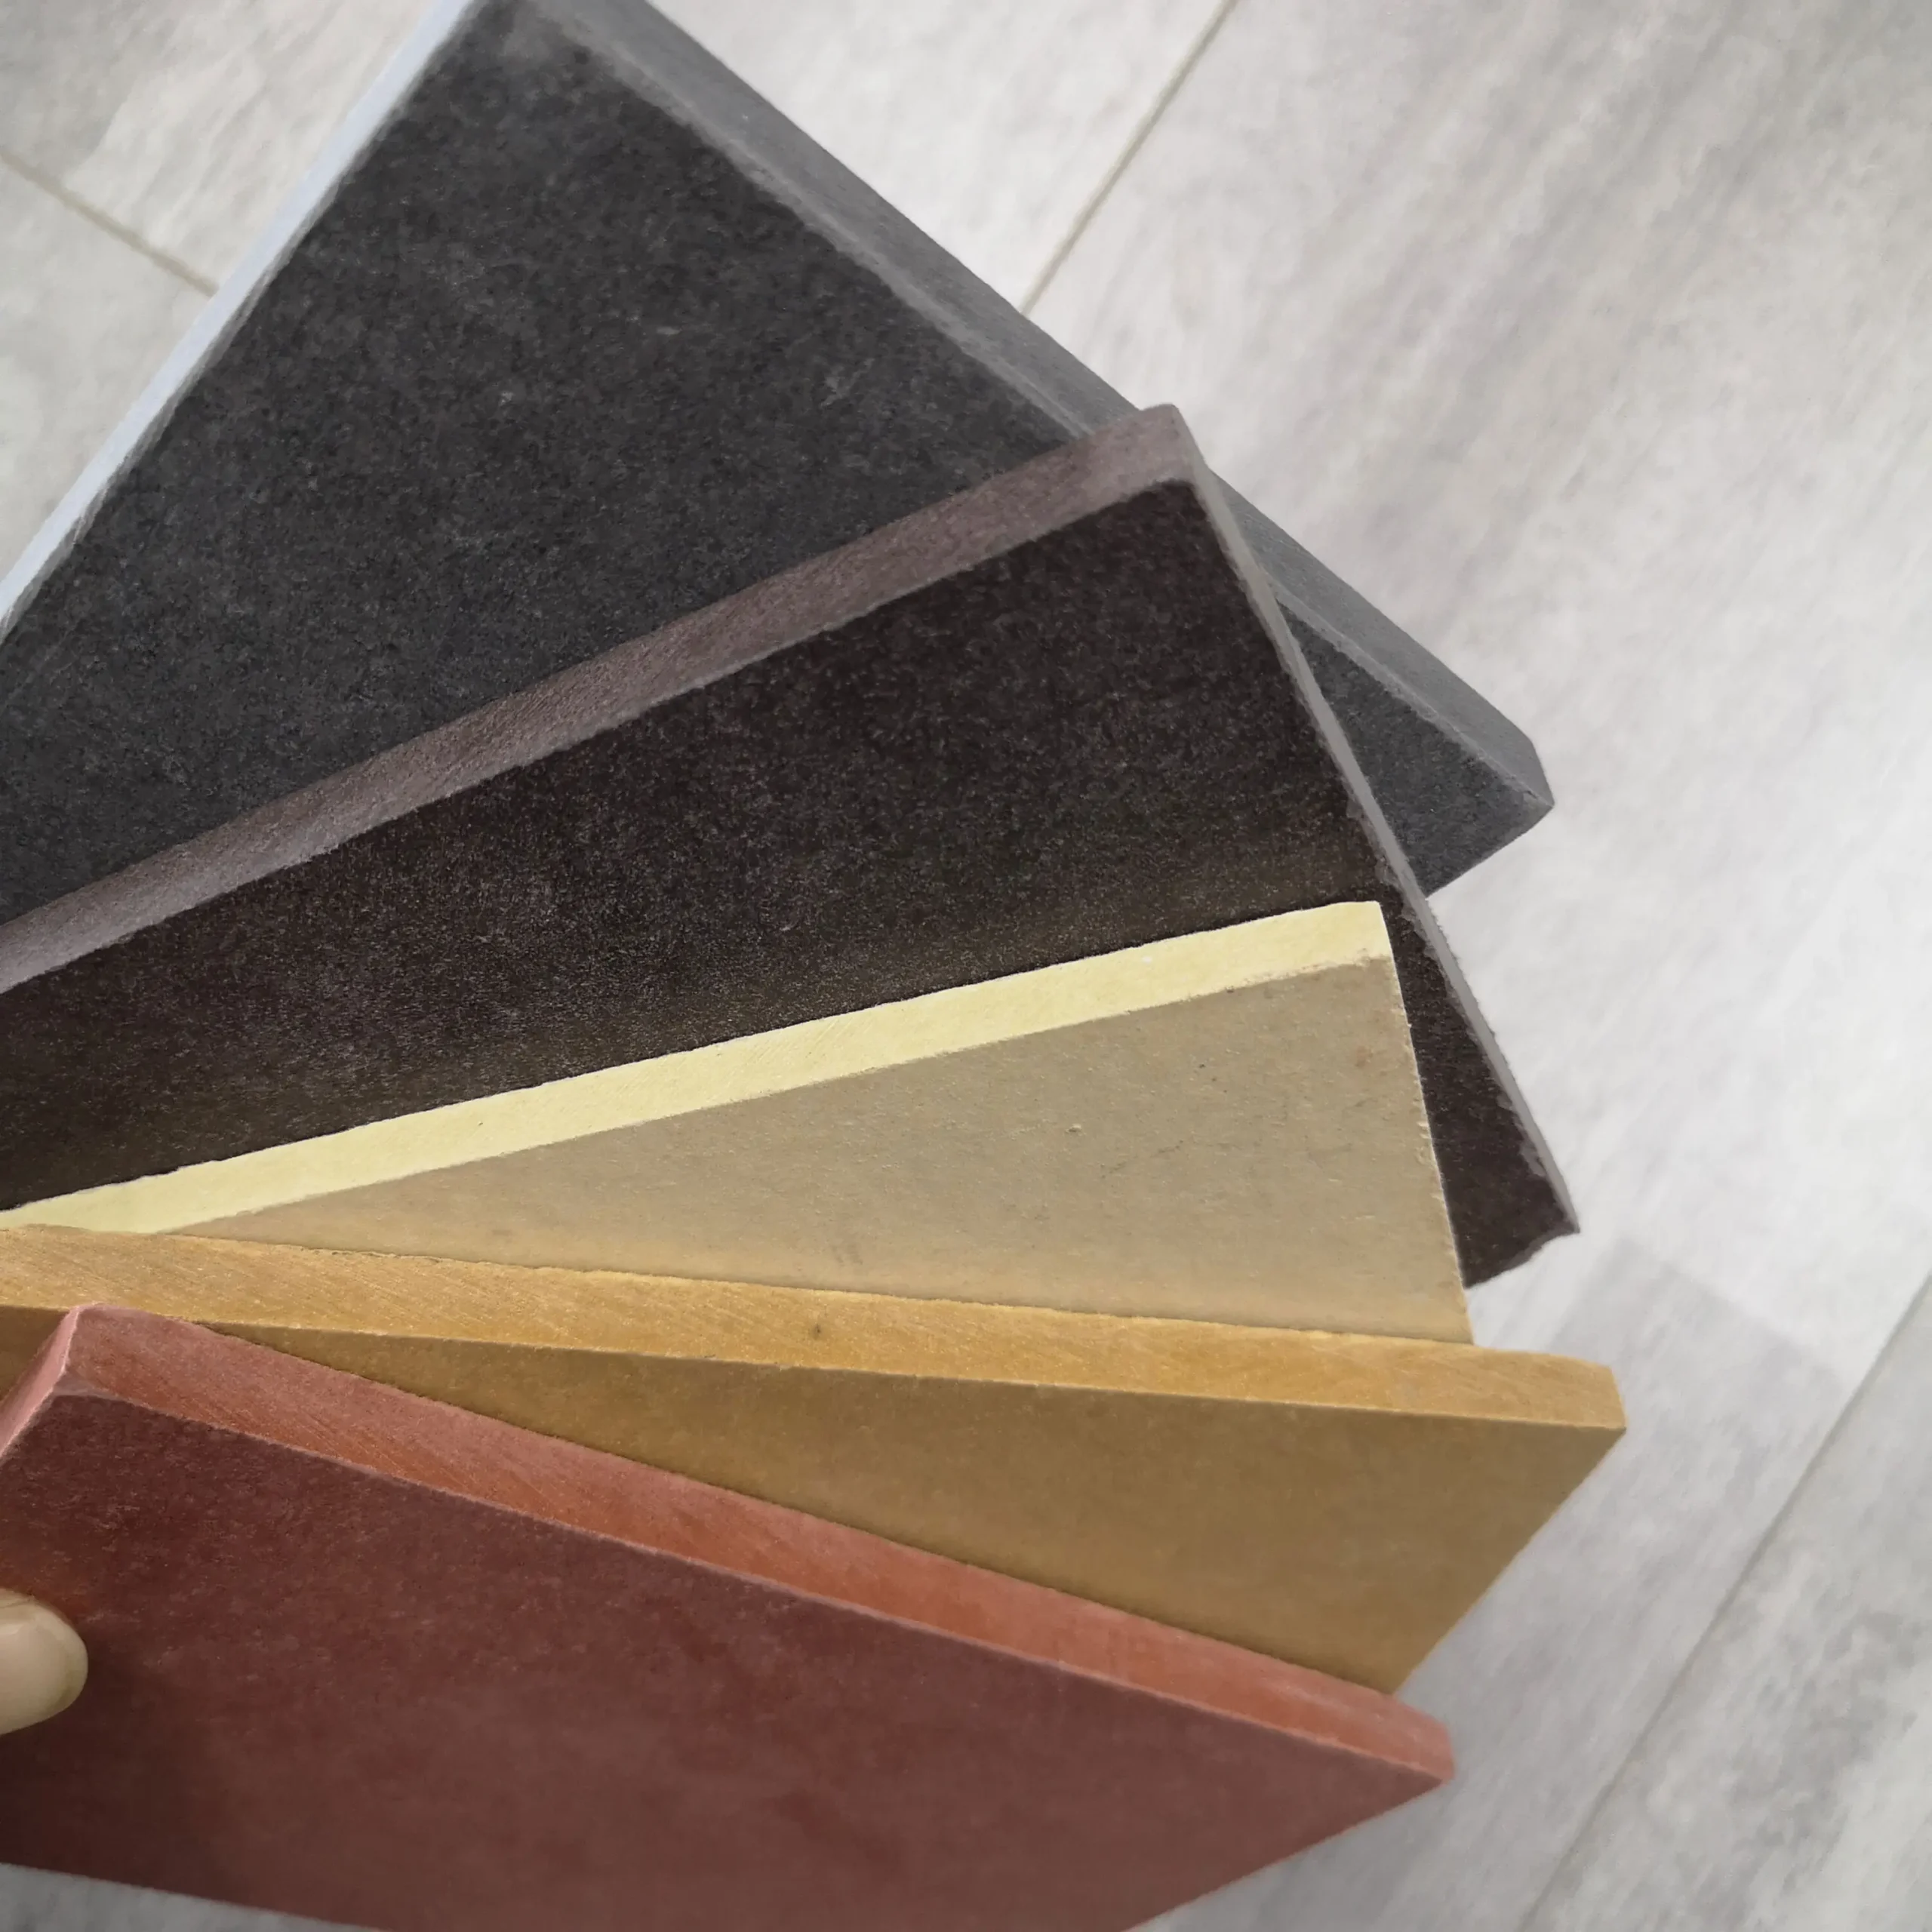
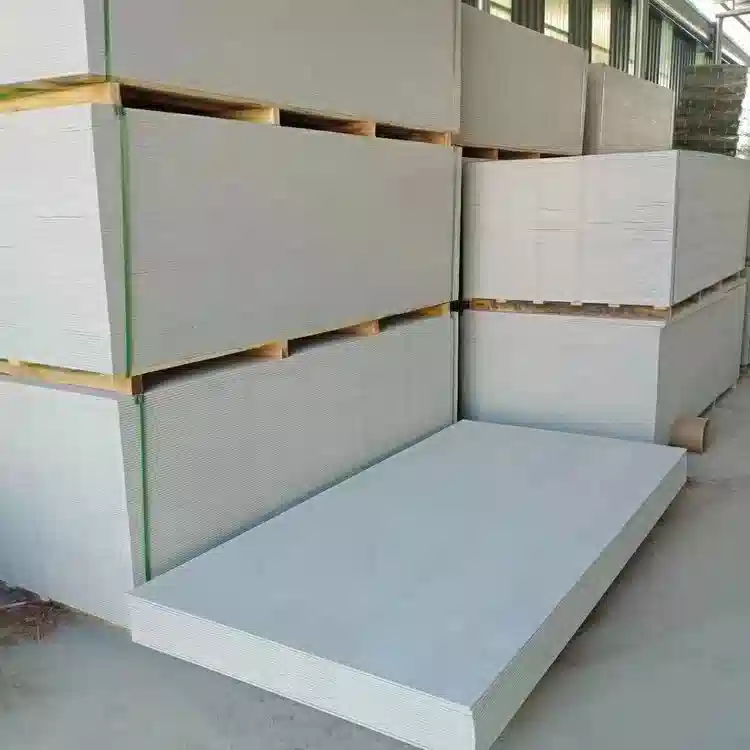
Fiber cement board ceilings have become a popular choice in modern construction due to their fireproof, moisture-resistant, and durable properties. This article provides a detailed guide on construction conditions, tool preparation, structural essentials, and installation techniques for fiber cement board ceilings to help you achieve high-quality ceiling projects with ease.
Pre-Installation Preparations
1. Inspection of Working Conditions
- Confirm that the building structure meets the load-bearing requirements for ceiling installation
- Check whether pre-embedded electrical and plumbing works are completed
- Ensure ambient humidity is within the normal range
2. Tools and Materials Preparation
Main Tools:
- Electric drill
- Self-tapping screwdriver
- Nail gun
- Level
- Cutting machine
Auxiliary Materials Checklist:
- Fasteners: self-tapping bolts, screws, wood screws, nails
- Joint treatment: rubber strips, aluminum edge strips
- Adjustment accessories: turnbuckles, nuts, washers
Key Structural Considerations
1. Furring Layout Options
Fiber cement boards and furring can be arranged in two ways:
- Parallel layout: Board length runs in the same direction as the furring
- Perpendicular layout: Board length runs perpendicular to the furring
Expert Tip: For large spaces, a perpendicular layout is recommended to enhance overall stability
2. Main Furring Installation Standards
- Suspension point spacing should not exceed 1200mm
- When the distance from the end suspension point to the wall is >150mm, steel plates/angle irons must be fixed to the wall
- Reinforcement is required when the ceiling cavity height exceeds 1500mm
3. Special Area Treatment Techniques
- Long hanger rod adjustment: Install turnbuckles for easier leveling
- Steel structure connection: Use specialized connectors
- Joint treatment: Choose between aluminum edge strips or putty filling
Step-by-Step Installation Guide
- Layout Marking
- Mark elevation control lines
- Indicate suspension point locations
- Furring Installation
- Install main runners first
- Then install cross furring
- Finally level the entire framework
- Board Fixation
- Install boards from center to periphery
- Maintain 3-5mm expansion gaps between boards
- Secure with specialized self-tapping screws
- Detail Treatment
- Install aluminum edge strips or fill joints
- Treat ceiling-wall junctions
- Install access panels
Solutions to Common Issues
- Uneven Ceiling Surface
- Check furring leveling
- Adjust turnbuckles
- Joint Cracking
- Ensure adequate expansion gaps
- Use elastic joint fillers
- Board Warping
- Check ambient humidity
- Verify board quality meets standards
Maintenance Recommendations
- Regularly inspect ceiling stability
- Use neutral cleaners for cleaning
- Avoid impact from hard objects
With this comprehensive installation guide, you can successfully complete your fiber cement board ceiling project. For more professional advice, consider consulting experienced construction teams.