Fiber Cement Board Exterior Walls: Comprehensive Installation Guide
Overview
Fiber cement board exterior walls offer superior durability, weather resistance, and design flexibility for modern construction. This guide covers all aspects of installation, from structural considerations to finishing techniques.
Construction Conditions
Refer to Chapter 1, Section 2 and Chapter 6, Section 2 of this manual. Essential auxiliary materials include thermal insulation.
Structural Configurations
1. Primary Wall Types
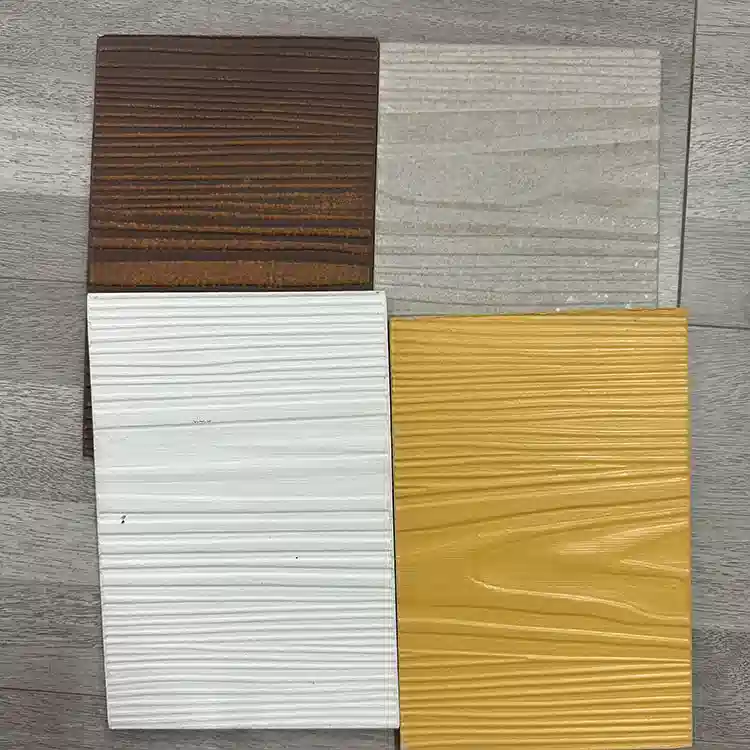
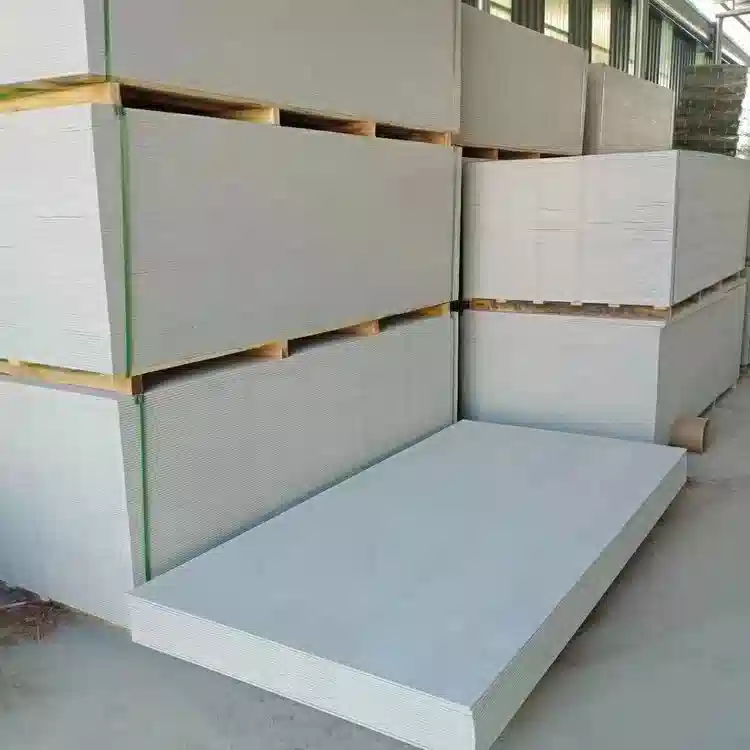
Fiber cement exterior walls come in three main configurations:
- Standard fiber cement board walls
- Ventilated cavity fiber cement walls
- Scalloped fiber cement shingle walls (Figures 1-6-42 to 1-6-44)
Key Specifications:
- Scalloped shingles typically measure ≤600mm (long edge) and ≥200mm (short edge)
- Standard thickness: 4-5mm
- Optimal board width: 600mm
2. Wall Assembly Details
Base Track Installation:
- Position track along perimeter columns
- Allows 4mm adjustment for concrete formwork irregularities
Scalloped Shingle Installation:
- Install continuous 6-8mm base board (half shingle height)
- Stagger joints between base and first shingle course
- Proceed with overlapping installation bottom-to-top
Ventilated Wall Systems:
- Feature continuous vertical air channels
- Terminate with 150mm perforated fiber cement soffit panel
- Maintain 150mm clearance above grade
Critical Connections
1. Column Connections
- Use 1.5mm steel studs
- Fasten with powder-actuated pins at 600-800mm spacing
- For walls >4m: Combine welding with mechanical fasteners
- For walls >6m: Add structural steel reinforcement
2. Floor Transitions
- Secure 40×20mm fiber cement strips at 800mm spacing
- Fasten with countersunk screws at 400mm intervals
- Add intermediate self-tapping screws
3. Window Connections
- Reinforce perimeter framing
- Seal all joints with elastomeric sealant
- Ensure watertight installation
Installation Methodology
1. Work Sequence
- Install wall framing (interior/exterior simultaneously)
- Install exterior insulation
- Rough-in utilities
- Install interior sheathing
- Mount exterior cladding
- Complete finishes
2. Framing Installation
Quality Control:
- Verify stud dimensions and gauge
- Reject warped components
Installation Steps:
- Snap layout lines for tracks
- Secure top/bottom tracks
- Install vertical studs and headers
- Add horizontal bracing
- Attach 100×4mm fiber cement edge strips
3. Board Installation
Best Practices:
- Use 25×5mm self-tapping screws for base layer
- Space fasteners 200-300mm apart
- Maintain 10-15mm edge distance
- Drill pilot holes 0.5-0.8mm smaller than screws
Ventilated Walls:
- Secure 40×20mm vertical spacers at 200mm intervals
- Use extended-length screws (10mm penetration beyond studs)
4. Finishing Techniques
Joint Treatment:
- Clean joints thoroughly
- Ensure moisture content <17%
- Use elastomeric sealants for exterior
- Apply in concave profile (2mm recess)
Surface Finishes:
- Coatings: Apply acrylic paints after 48-hour cure
- Wallcoverings: Use commercial adhesives
- Tile: Install with modified thinset mortar
Penetrations:
- Drill 10mm pilot holes for large openings
- Finish edges with file
- Maintain 10mm clearance around electrical boxes
Professional Tips
- Always wear PPE when cutting fiber cement
- Store materials flat and protected
- Allow for thermal movement in all details
- Follow manufacturer’s installation guidelines
This comprehensive approach ensures durable, high-performance fiber cement exterior walls that meet all building code requirements. For complex projects, consult with certified installers.