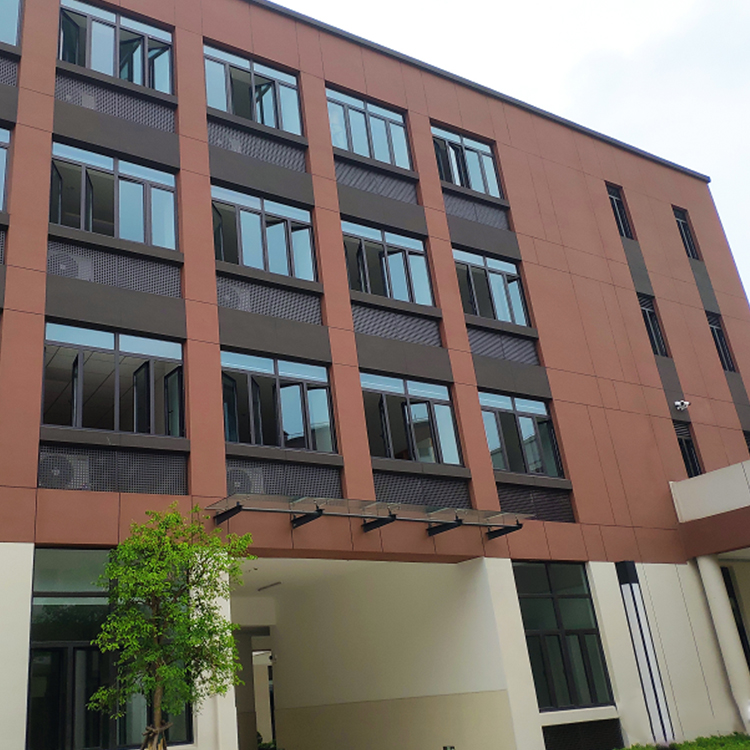
In places with high acoustic requirements such as theaters, recording studios, and meeting rooms, calcium silicate acoustic panels have become an indispensable decorative material. They not only retain the excellent properties of calcium silicate boards—such as fire resistance, corrosion resistance, insect resistance, high strength, and high toughness—but also effectively absorb noise and reduce reverberation through perforated design, creating an ideal acoustic environment for the space.
As a professional manufacturer of calcium silicate acoustic panels, Tengfei Editor is here to walk you through the complete construction process for these beautiful and functional wall panels.

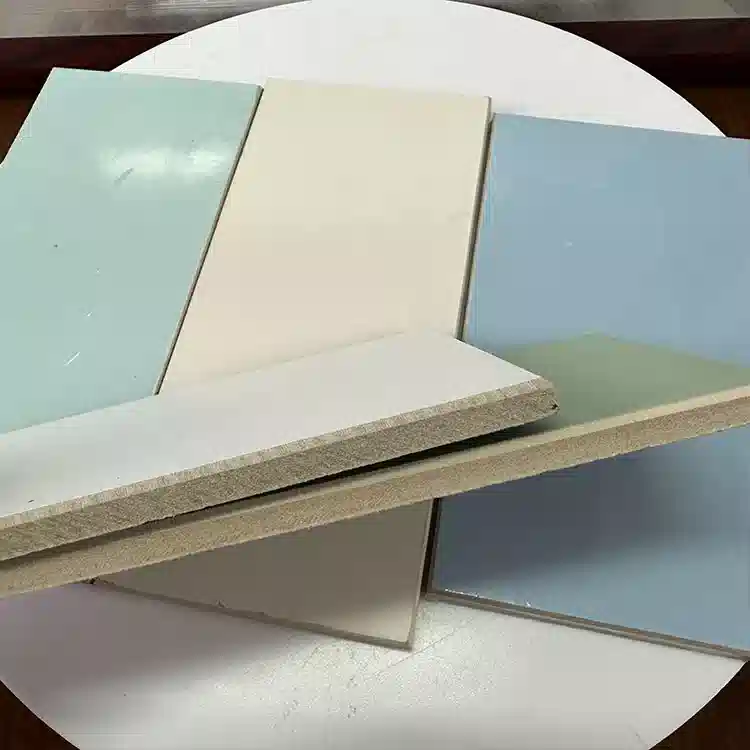
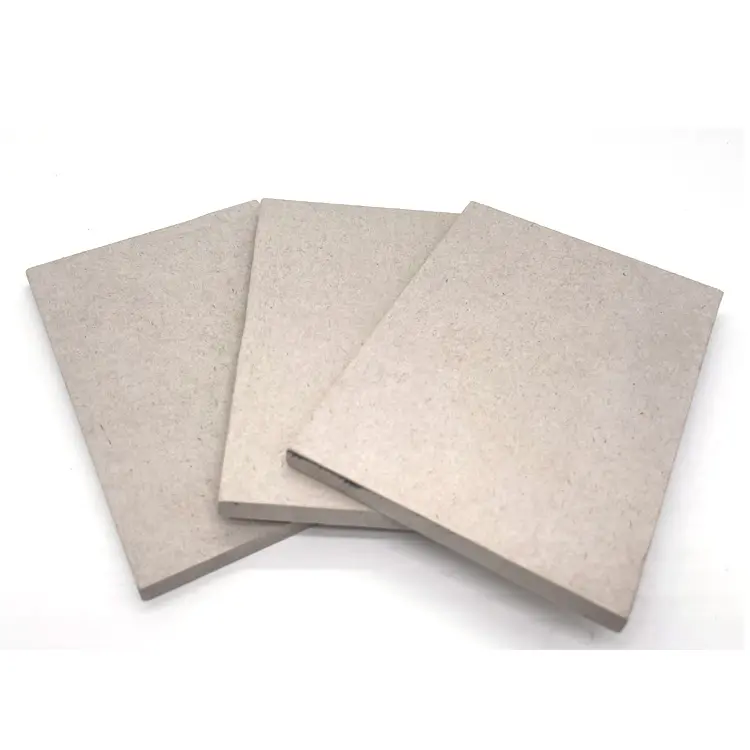
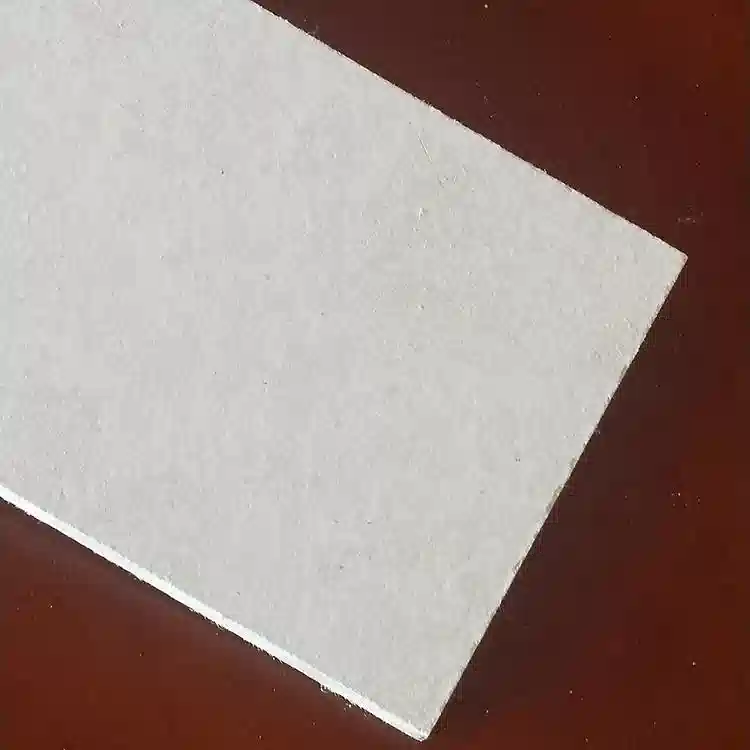
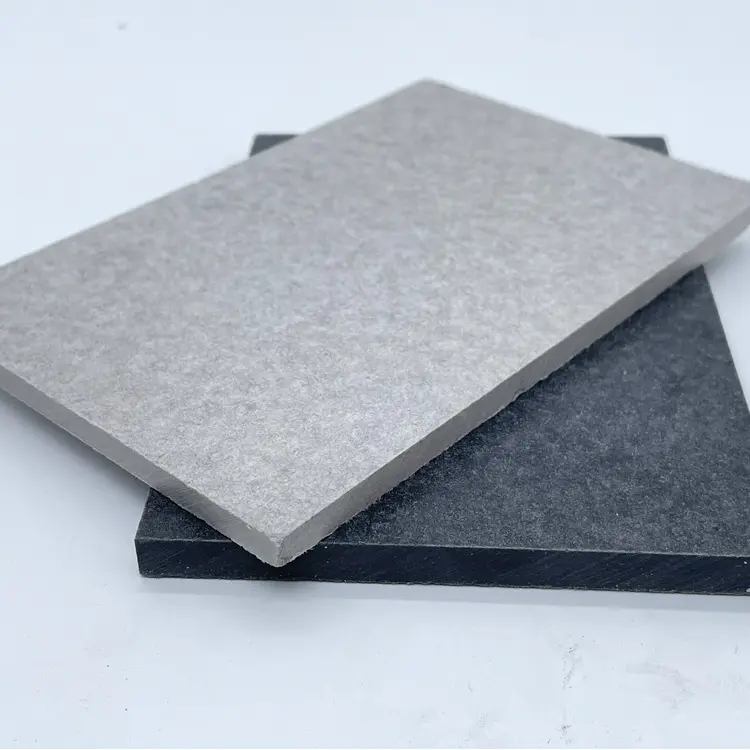
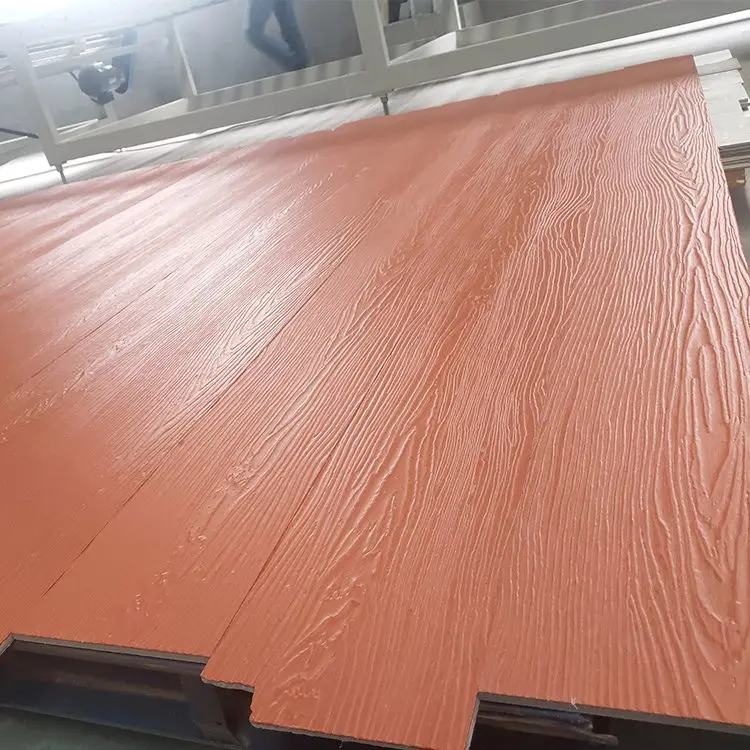
Calcium silicate acoustic panels are perforated sound-absorbing panels made from precision-punched calcium silicate base boards. These perforations work in conjunction with backings (such as rock wool) to form a resonant structure that effectively absorbs mid-to-high frequency noise.
Their key advantages include:

Welding machine, electric drill, electric self-tapping screwdriver, nail gun, plumb line, straight edge, scraper, etc.

Snap layout lines on the floor for the wall position, and extend these lines to the ceiling and side walls. Ensure the layout marking is accurate and clear.
Secure the floor and ceiling runner tracks to the floor slab and ceiling structure using a nail gun. Nail spacing should be 0.6 meters (adjustable based on design requirements).
Mark the positions for vertical studs on the installed floor and ceiling tracks:
Arrange the vertical studs according to design requirements and install necessary horizontal reinforcements. Secure the top and bottom ends of the studs with rivets. Ensure the punching direction on the studs is consistent and the layout is neat.
Reserve openings within the stud framework for electrical and plumbing lines. Implement local reinforcement measures around these openings. This step must be completed before panel installation.
Cut the rock wool felt to fit the spaces between studs and secure it within the stud cavities using construction adhesive. Ensure the filling is uniform and dense, without sagging or voids. Installing rock wool is a critical step for maximizing sound absorption.
When fixing, start from the center of the panel and work outwards to ensure it is flat and securely attached.
Apply the final decorative finish according to design specifications. Ensure not to block the acoustic perforations, preserving the sound absorption performance.
Calcium silicate acoustic panels are widely used in:
Our technical staff is available 24/7 for support and fast response, giving full advice on your products and sharing engineering knowledge. Whether you order or not, we’re always here to support your business.